
Make Your Gift Bag a Work of Art!
Take this artwork....
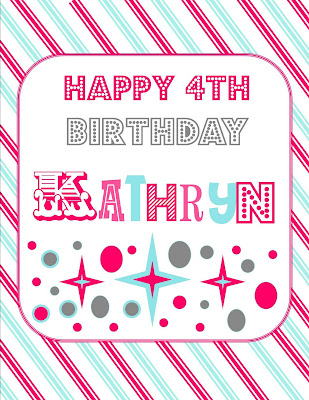
using these products.....

using these products.....

and turn it into a gift bag to be remembered!


This is super easy to do:
Using simple items you can design a seriously cute gift bag. Just get a cheap colored gift bag from the store and get to work. This artwork will TRIPLE as a card, gift, and bag decor. When done, just use a dry erase marker to write your message on the card.
Using simple items you can design a seriously cute gift bag. Just get a cheap colored gift bag from the store and get to work. This artwork will TRIPLE as a card, gift, and bag decor. When done, just use a dry erase marker to write your message on the card.

You will need:
Artwork
Spray Adhesive
Photo Mat
Clear Sheet Protectors
Dry Erase Marker
Plain Gift Bag
Step 1: Create Your Art - Sure you could design something fancy schmancey on your computer, but you don't have to. You could display your child's artwork or family pictures. The sky is the limit. There is just so much you can do. Use photos, collages, scrapbook paper, stickers - just go with it. Just make sure your artwork fits well within the size of the picture mat you get. That was a big whoops on my part on this project as some of my square didn't want to fit. But it had to do, with no time to fix it.
Step 2: Decorate your mat frame - I didn't have time to decorate this one, so I kept it white. But there are so many cute things you can use to decorate. Use scrapbook paper, spray paint, stencils, tissue paper, stickers...catch my drift?
Step 3: Adhere mat, sleeve, and bag - Spray the mat with adhesive and bond first the sleeve to the mat (with art already inside) and then the mat to the bag.
Step 4: Write your note - Write it in dry erase marker just in case they would like to use the bag again. The spray adhesive is repositionable, so it should be able to come off and be re-stuck quite easily for future use.
Step 5: Enjoy! - Voila! Now you can stuff it with all the goodies. And don't forget to include a frame as part of the gift so it can be displayed. When removing the artwork from the protector sleeve be careful not to get it sticky from the glue residue.
Comments
Post a Comment
PLEASE NOTE: In an effort to spend more time with my family, I am NO LONGER taking any special requests for designs. You are welcome to use the free-printables that I have already provided via download links. God Bless!