
From T-Shirt to Tote!

Below is the picture of My Kiddo's favorite shirt - her super-cute "Bernard the Monster" T-Shirt from Nissalisa on Etsy!

A couple weeks ago, the back of her shirt suffered a very unfortunate bleaching incident that left Mommy very sad. Of course, The Kiddo had no idea and couldn't have cared less.

But because I am sooo OCD, I was determined to not let this monster-cutie go to waste. I decided to re-purpose the applique and put it on a tote bag. I purchased this tote for $7.25 from Jiffyshirts.com.

I cut the design out from the shirt leaving plenty of extra on the edges.

I then used a piece of "Wunder-Under" fusible webbing and ironed the design on the front...

and back until it had fully adhered to the webbing. It did take quite a while since the fabric was so thick. I can't give you an exact temperature, but start out low until you find the right temperature. You don't want to burn anything. Also, take special care to make sure you don't have any stickie from the webbing on your iron that could leave marks on your design. Just make sure to keep the iron clean. This is especially important when ironing on the front side of the webbing. If needed, place some paper over the design and iron it that way. Also, when ironing on the back side, you might want to put some paper on your board to make sure that the design doesn't adhere to your board. I didn't have this problem since my design was so raised.

I then cut the design out fully from the webbing, trying to cut as much as possible under the design to remove any remaining brown.

I then ironed the design onto my bag for a temporary hold. Once again, watch your iron temperature and for stickies and burning. Once the design was ironed on, I sewed around the entire design.
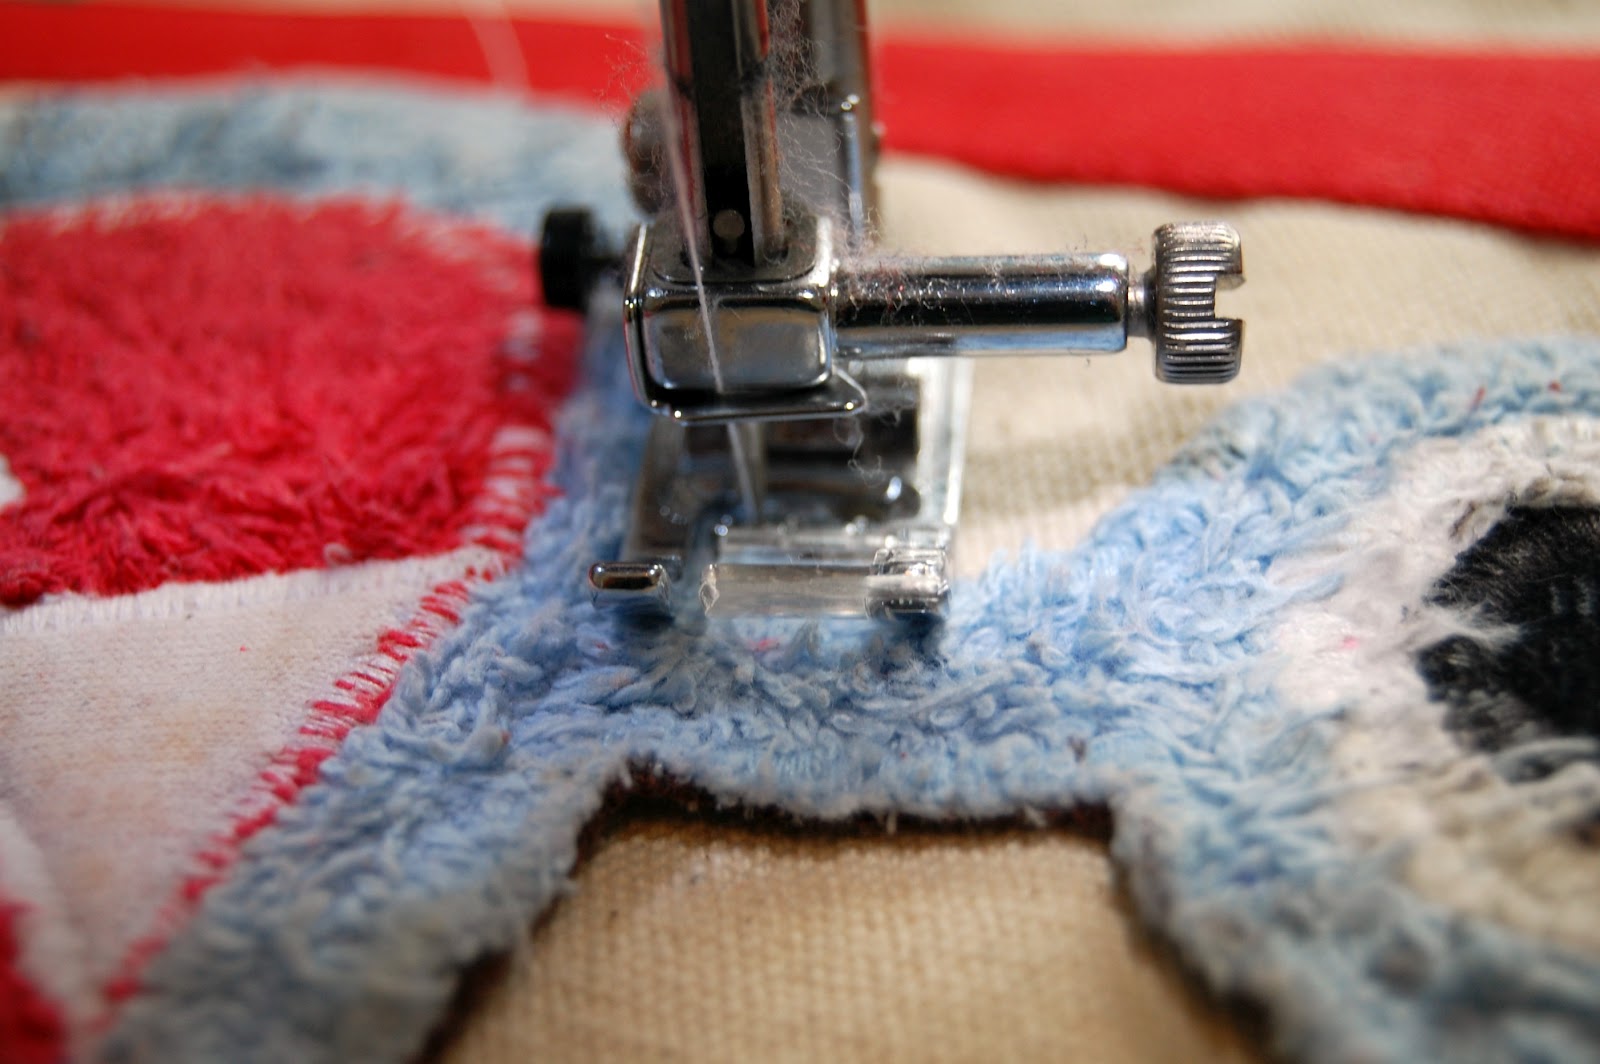
Zig-zag stitches are usually the best for this sort of thing, but I ended up using stitch number 21 in this picture (I don't know what it's called). I used white thread that easily blended into the design and bag. This minimized the appearance of any stitching mishaps.

Once I was finished, I added some bows for extra effect. I can't believe how easy this project turned out to be. I was extremely worried about sewing around the design, but I had very few problems and only broke one needle in the process! LOL! If I can do this - ANYONE can!

Linking this project up to:


So adorable! I've never thought to sew a T-shirt design onto a tote bag. I'm sure your daughter loves this!
ReplyDeleteI'm just excited that it was so easy to do!
Delete