
Easy Glass Etching with Martha Stewart Crafts

Ready for another easy-peasy tutorial? I sure hope so, because you are going to love how easy it is to make this next project. I recently received a box full of goodies from Martha Stewart Crafts to try out as part of the Martha Stewart glass painting program. I was so excited to get started on etching some glass!

I have tons of glassware in my home that I have acquired over the years. I pick it up here and there and love to use it for the events that I plan. This beat-up and tired old milk bottle was needing some love, so I decided to jazz it up by etching a design on it. These were the supplies that I used:
Glass Bottle
Etching Cream and Brush
Adhesive Silkscreen
Gloves
All of these materials (except the glass) can be found in the Glass Etching Kit by Martha Stewart Crafts.

Step One: Before beginning, I made sure to wash my glass with soap and water. I then cleaned the surface with some rubbing alcohol.
Step Two: I cut my silkscreen out from the sheet following the border as a guide. I then sized the design and made sure I liked the way it looked on my bottle.


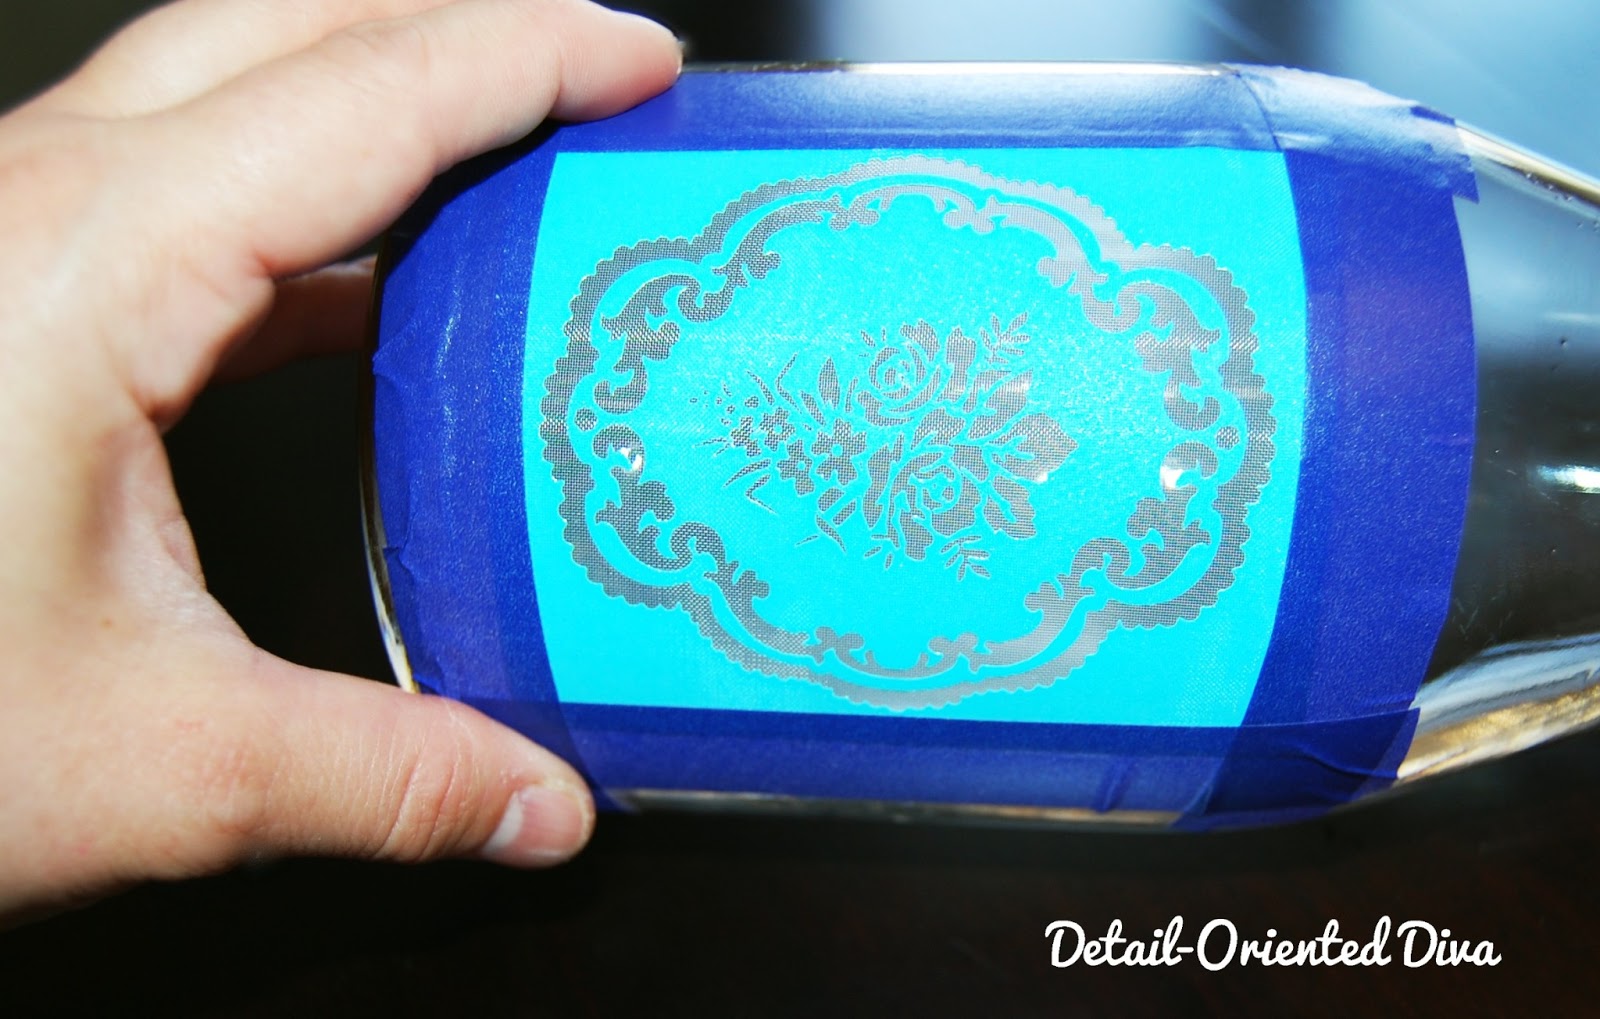

Step Five: Rinse the glass under running water. Make sure to rinse all the cream off thoroughly first. Then you can remove the silkscreen and tape. And you are done. Just make sure to wash the glass with soap and water thoroughly before use.

Like Plaid Crafts on Facebook
Follow Martha Stewarts Crafts on Pinterest
Follow Plaid Crafts on Pinterest
I wrote this post as part of a sponsored campaign with Plaid Enterprises and The Blueprint Social. The opinions in this post are my own.
Linking this to:

That is so pretty!
ReplyDeleteThanks so much!
DeleteWow this is beautiful. I love the idea of applying the border of painters tape! This looks perfect for a little flower in a kitchen window seal. Reminds me of spring.
ReplyDeleteSo glad you like it! Thanks a bunch!
DeleteSo pretty! I never realized how easy it is to do the etched glass look! I'm going to have to make a trip to the craft store and try this myself!
ReplyDeleteIt really is super-easy!
DeleteIt's awesome Natalie! So gorgeous. I pinned :D
ReplyDeleteThanks so much Amy!
DeleteLove this! Can you reuse the stencils, or are they 1 time use? Thanks!
ReplyDeleteThe stencils are reusable. They won't be as sticky as the first time though, so you might want to use more tape.
DeleteThank you! I'm going to try it next weekend!
Delete